
Introduction: Why Your Shopware Account Is More Than Admin
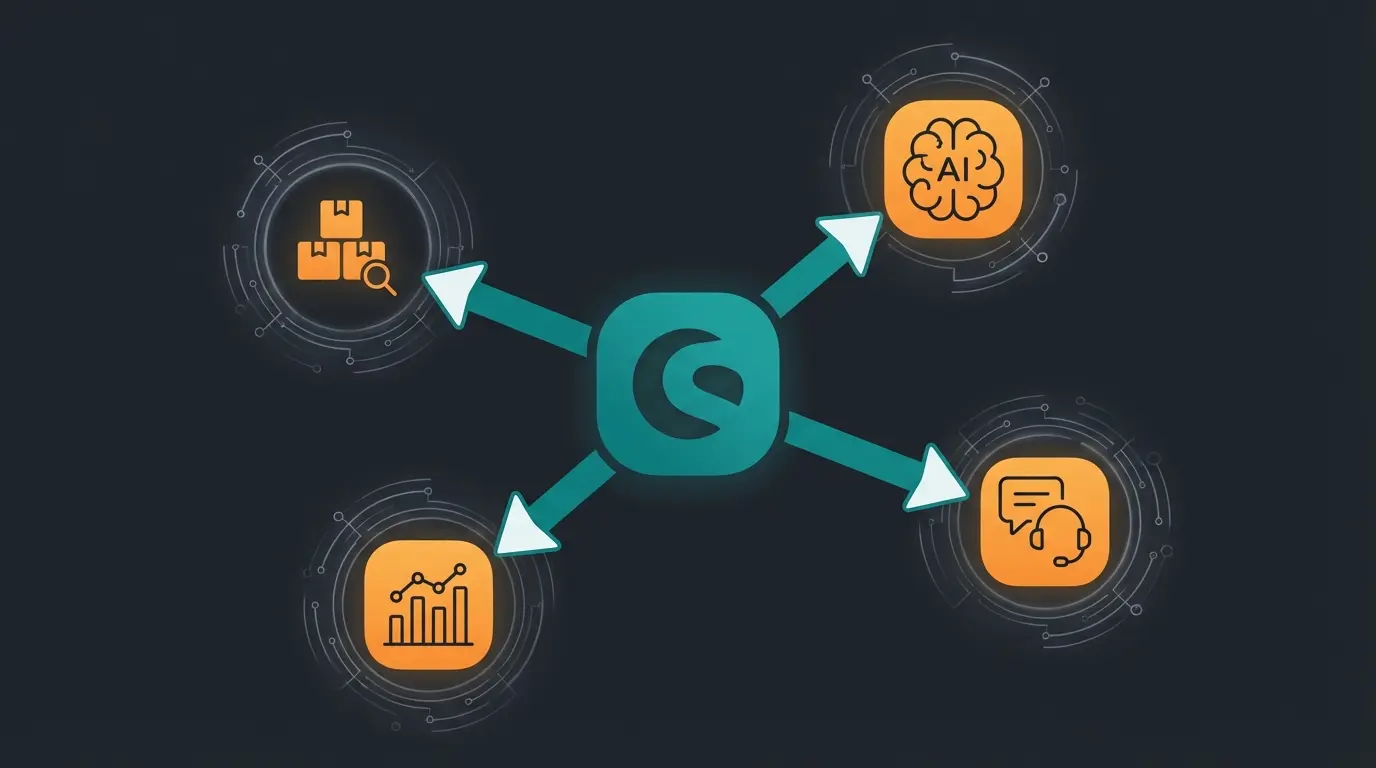
For many shop owners, the Shopware Account initially appears to be nothing more than an administrative necessity – the place where invoices reside and licenses are managed. However, this perspective leaves tremendous potential untapped. In modern e-commerce architecture, your Shopware Account serves as the central nervous system of your online business. It's not just the key to extensions and support, but the gateway to Connected Commerce.
Those who strategically set up their account today lay the foundation for tomorrow's scaling. Whether you want to connect external inventory management systems, manage Shopware multi channel distribution, or – increasingly important – integrate AI-powered tools for process optimization: everything begins with a clean account structure and correct API permissions.
In this comprehensive guide, we take you far beyond standard documentation. We resolve the most common technical blockers (like the notorious domain verification), clarify security questions, and show you how to prepare your Shopware Account for the age of artificial intelligence. According to Shopware, proper account configuration is essential for accessing the full ecosystem of plugins and services.
Shopware ID vs. Shopware Account: End the Confusion
Before we begin, we need to clear up a common misunderstanding. In forums and older tutorials, you'll often encounter the term "Shopware ID." Here's the key difference:
| Feature | Shopware ID (Legacy) | Shopware Account (Current) |
|---|---|---|
| Function | Was formerly the central identifier (often username). | The central platform (SaaS) for all Shopware services. |
| Login | Often occurred via a specific ID. | Occurs via your email address (Shopware ID is now part of user management). |
| Scope | Limited to access only. | Includes licenses, support, company master data, shop management & cloud services. |
| Relevance | Outdated (but sometimes still used synonymously). | The standard for Shopware 6 and modern Shopware 5 environments. |
Your Shopware Account connects all services, plugins, and external tools in one place
Shopware 6 is API-first – everything in the admin can be automated
Connect AI tools to your shop once account permissions are properly configured
Step-by-Step: Creating Your Shopware Account
The start is simple, but errors in master data can later lead to problems with invoicing or plugin validation. Understanding Shopware TCO in 2025 begins with proper account setup.
The Registration Process
- Visit account.shopware.com/register.
- Create Shopware ID: You'll be prompted to create a "Shopware ID." Today, this effectively serves as your personal user identifier within the ecosystem.
- Fill in Master Data: Pay meticulous attention to the correct spelling of your company name and VAT ID. This data is automatically validated against EU databases. According to Shopware documentation, discrepancies often lead to automatic blocks on plugin purchases.
Why Clean Data Matters for AI Integration
When you later use AI tools for automation (e.g., for automated tax calculations or customer support bots), these tools often pull their context information from master data. An incorrect address or outdated support email in the account can cause an AI bot to direct customers to a dead mailbox. This is particularly important when implementing AI product consultation solutions that need accurate business context.
Data integrity isn't just about avoiding errors – it's about ensuring that every automated system connected to your shop has the correct information about your VAT settings, shipping regions, and business details. When AI sales assistants serve your customers, they need accurate data to provide correct recommendations and answers.

Mastering the Biggest Hurdle: Shop Domain Verification
Analysis of search queries reveals: This is where most users fail. The "Domain verification failed" status is frustrating, but usually easy to resolve once you understand Shopware 6's technical structure. According to ThemeWare, this is one of the most common support requests.
The Detailed Process
To purchase or rent plugins, Shopware needs to verify that you actually own the domain. Understanding Shopware hosting costs is important, but first you need proper domain verification.
- Log into your Shopware Account.
- Navigate to Merchant Area -> Shops -> Add New Shop.
- Select "Register Existing Shop" (for Self-Hosted installations).
- Enter your domain (pay attention to `http` vs `https` and `www` vs `non-www` – it must match exactly!)
The Validation Method: sw-domain-hash.html
Shopware asks you to upload an HTML file with a hash value to your server.
This distinction is crucial as confirmed by Shopware's official documentation. The file must be accessible at `your-domain.com/sw-domain-hash.html`.
Troubleshooting Domain Verification Errors
Verify the hash file is in /public folder, not root directory
Try accessing your-domain.com/sw-domain-hash.html directly
Ensure exact match: https vs http, www vs non-www
If domain already registered elsewhere, contact financial.services@shopware.com
| Error | Cause | Solution |
|---|---|---|
| File not found / 404 | File is in wrong folder (usually one level too high, not in /public) | Check if the file is accessible at your-domain.com/sw-domain-hash.html. If not, move it to /public folder. |
| Domain is already registered | Domain was previously linked to another account (e.g., by an agency or previous owner) | Contact Shopware Support (financial.services@shopware.com) to release the domain. Manual override is not possible. |
| License host verification failed | Domain in Shopware Account doesn't match exactly with domain in shop settings (.env file or Sales Channel settings) | Ensure https://www.shop.com matches https://shop.com exactly – they are NOT the same to the system. |
As noted by Shopware community resources, the domain verification step is mandatory before purchasing any plugins from the Shopware Store.
User Management & Security: Who Can Do What?
A modern Shopware Account is rarely managed by a single person. You have developers, accountants, marketing managers, and external tools. Proper configuration of your Shopware customer account settings is equally important for your end users.
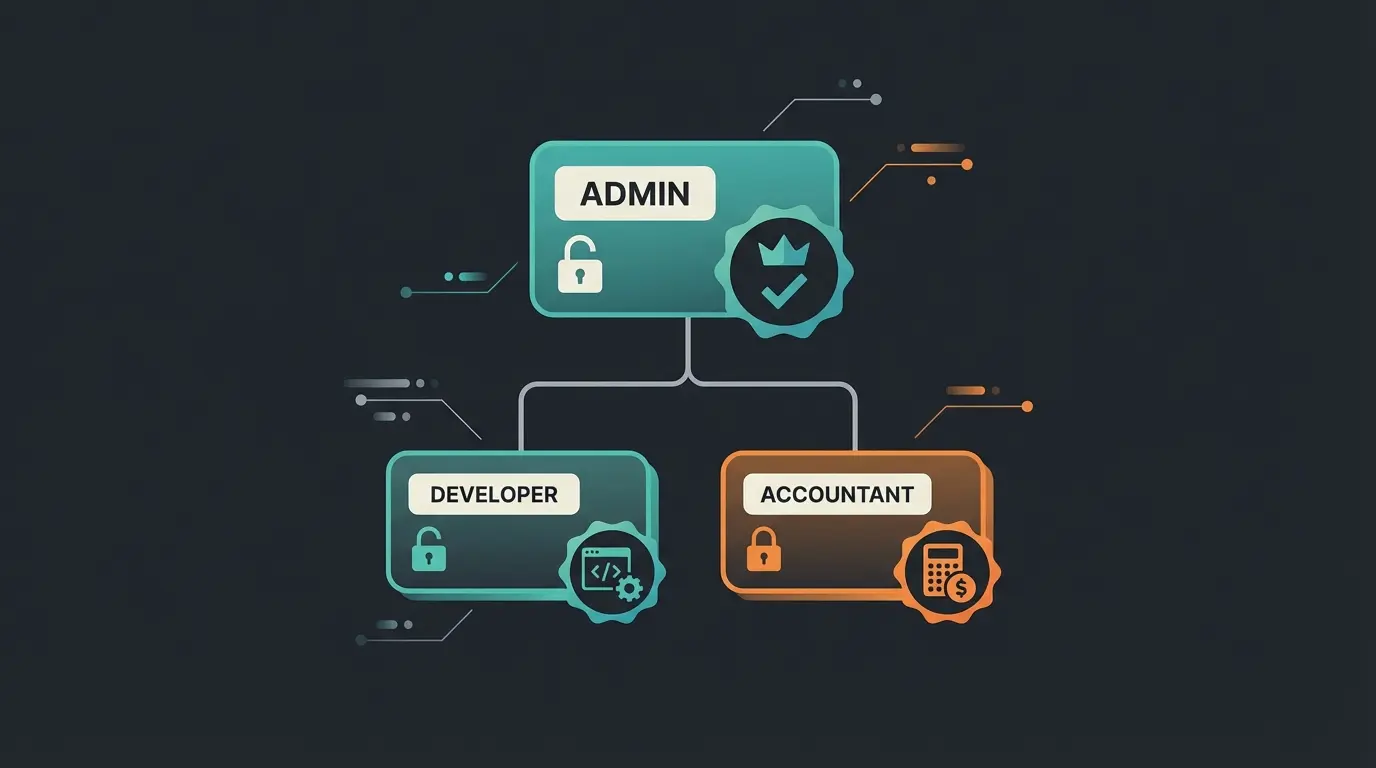
Role-Based Access Control (ACL)
Shopware offers a sophisticated system for user permissions. Use it! Never share your personal admin credentials with third parties. According to Shopware's best practices, role separation is essential for security.
In the Shopware Account (SaaS Level)
- Go to Settings -> Users & Roles.
- Invite employees via email.
- Best Practice: Create roles like "Accounting" (can only view invoices) or "Developer" (can manage licenses but cannot cancel contracts).
In the Shop Backend (Administration)
Here you manage who can edit products or view orders. Important: This is separate from the Shopware Account login! As explained in Shopware's administration guide, the backend permissions system operates independently from account-level access.
Security: Two-Factor Authentication (2FA)
Security isn't a feature – it's a requirement. A hacked admin account can compromise your entire customer base. This is especially critical when comparing Shopware vs Shopify – Shopware's self-hosted flexibility requires proactive security measures.
- Shopware Account: Activate 2FA in your profile settings.
- Shop Backend (Administration): From newer Shopware versions (e.g., 6.5+), 2FA is often better integrated natively or solvable via extensions.
- For older versions or advanced security (e.g., YubiKey support), plugins like the "Two-Factor Authenticator" protect both admin and customer logins, as noted by IWV Plugins.
Beyond the Basics: Preparing for AI & Automation
This is where professionals separate themselves from amateurs. Your Shopware Account and shop installation form the foundation for Connected Commerce. When you want to use AI tools – whether chatbots, pricing engines, or AI product consultation solutions – they need access.
Understanding how Shopware AI integrations work is essential for modern e-commerce success. The key lies in proper API configuration.
The API-First Approach
Shopware 6 is built "API First." This means almost everything you can do in the admin area can also be done by software. This architecture is what allows Shopware chatbots transform customer interactions through seamless data access.
Integrations Instead of Users
Create no regular user accounts for external tools. Instead, use Integrations. As documented by Shopware's API guide, this is the recommended approach for third-party tool connections.
Setting Up an Integration for AI Tools
- Go to Settings -> System -> Integrations in the Shop Admin.
- Click Create Integration.
- Name: Give it a clear name (e.g., "AI Product Consultant").
- Role: Assign the integration only the permissions it actually needs (e.g., "Read Catalog" for product consultation, but not "Delete Orders").
- Access Key & Secret Key: Copy these keys immediately. The Secret Key is only displayed once!
This approach is also recommended by Webshopschnittstelle for secure third-party integrations.
Once your account is properly configured, connecting our AI product consultation tool takes just 5 minutes. Transform customer support and boost conversions with intelligent automation.
Start Your Free TrialData Quality as AI Fuel
An AI is only as smart as the data it receives. Use your Shopware Account to ensure that your licenses for extensions (e.g., SEO plugins or custom field managers) are current. Outdated plugins often cause API errors that block data transfer to AI tools.
Working with a Shopware agency Munich or other experienced partner can help ensure your data architecture supports AI integration from day one.
Troubleshooting: Solutions for Common Problems
Even with the best preparation, errors occur. Here are solutions for the most common support tickets we've analyzed.
Problem 1: Cannot Login to Admin Area (Loop or Error)
Symptom: You enter your credentials, the page reloads, and you're back at the login screen.
- Solution A (Cache): Clear your browser cache and cookies.
- Solution B (Technical): Often caused by "session locks" on the server. A known fix is adjusting the `lock_dsn` in the `.env.local` file or deleting the `/var/cache` folder via FTP, as documented by Shopware support.
- Solution C (Update): In versions like 6.6.x, specific bugs existed with login when "Delayed Cache Invalidation" was enabled. Updating to the latest patch version often resolves this.
Problem 2: Shopware ID Password vs. Shop Login Confusion
Don't confuse the password for `account.shopware.com` with the one for `your-shop.com/admin`.
- If you can't access the Account: Use the "Forgot Password" function on the Shopware website.
- If you can't access the Shop: Use the "Forgot Password" function at the admin login or reset the password via database (table `user`) if email sending doesn't work. Guidance is available from Shopware community forums.
Problem 3: Duplicate Customer Accounts / Merge Need
Customers often accidentally create multiple accounts (guest order vs. registration).
Solution: Shopware doesn't offer a built-in "merge" function in the backend. You must either clean this up manually or use SQL scripts/plugins to merge guest accounts with registered accounts based on email address. Resources from ZHTek and Winkelwagen provide helpful guidance on this process.
The Account as Your E-Commerce Foundation
The Shopware Account is far more than a bureaucratic necessity. It's the control center that determines whether your shop is secure, whether extensions run smoothly, and whether you're ready for the next stage of e-commerce: the integration of artificial intelligence.
Take 30 minutes today to optimize your setup:
- Check your master data in the account for accuracy.
- Ensure your domain verification is clean (is the file in the `/public` folder?).
- Set up 2FA for all administrators.
- Create clean API integrations for your external tools.
A well-organized account saves you hours of troubleshooting in emergencies and opens the door to innovations that increase your revenue. For license transfers and complex account scenarios, the Shopware license transfer assistant can help streamline the process.

FAQ: Shopware Account Questions Answered
Yes, creating and using the Shopware Account (formerly Shopware ID) is completely free. Costs only arise when purchasing licenses, subscriptions, or paid plugins. The account itself serves as your central hub for managing all Shopware services at no charge.
You cannot directly "merge" accounts yourself. If you need to transfer licenses from one company to another (e.g., during a company acquisition), use the "License Transfer Assistant" in your account or contact Shopware Support for a manual transfer. This ensures proper documentation and license validity.
A once-registered domain cannot simply be renamed, as licenses are bound to it. You typically need to register the new shop as a "new shop" in the account, then have licenses transferred to the new domain via Support or the Transfer Assistant. Plan for this during any rebranding or domain migration.
In the past, the Shopware ID was often a freely chosen name. Today, your email address serves as the central identifier (Shopware ID) for login. The terms are sometimes used interchangeably in older documentation, but email-based authentication is now the standard.
Go to Settings > System > Integrations in your Shop Admin. Create a new integration with a descriptive name, assign only the necessary permissions (principle of least privilege), and save the Access Key and Secret Key immediately – the Secret Key is only shown once. This method is more secure and performant than creating regular user accounts for tools.
Your account is configured, your integrations are ready – now it's time to leverage AI for automated product consultation, intelligent customer support, and increased conversions.
Get Started FreeDisclaimer: This article serves as guidance and does not replace official Shopware documentation. Technical details may change with updates.